


It’s art fair season again, and you would not believe the work that goes into getting a booth ready for one of these shows. So today I’m going to show you!
Most art fairs are held during the summer, when the weather is nice and people want to get outside. This actually works well for photographers, because as I have said before, summer can be the least interesting season for photography. Campgrounds are full, hiking with a lot of gear is hot, tiring work, bugs are out, lower elevations are losing their spring wildflowers, waterfalls are dry, and some areas are turning brown in the heat. That’s not to say there’s not always plenty for a creative photographer to find, and the wildflowers at higher elevations are coming out as the snow melts in mid-summer, creating beautiful mountain vistas. It’s just that of the four seasons, it’s my least favorite time to shoot. I’d rather be relaxing somewhere with a margarita – or at an art fair talking to people about my latest work.
So how do you get into the better shows? The short answer: start getting ready years in advance.
My product is my photography, and it takes years to get good at something like this. The work I’m selling now was put together starting in 2008, and I frequently go back and work on improving images that were shot years ago. But for today, I’ll stick to the logistics of getting those images ready to sell.
To get into an art fair, you need to apply and be accepted. The application process takes place months before the show dates, so typically I’m applying for shows from the end of the previous year through March or April.
Most shows are going to ask for the same sorts of things: a state business number, a photograph of your booth, several photographs of typical products, and an application fee of $20 to $35. So before you even apply for your first show, you need to have registered your company with the state, put together and decorated your booth, and made some product to sell.
Registering with the state means filling out paperwork and sending in a check – or checks. I elected to register as a limited liability company, or LLC, so I get to deal with both the Washington State Department of Revenue and the Secretary of State – every single year.
All shows are juried to some extent, meaning your booth and product must meet their minimum standards and will be examined by the jury, or committee in charge of selection. The better shows have more applicants than spaces, so your work needs to stand out. You have to have a pretty booth shot before you even apply to your first show. This is where it gets hard.
Step one – buy a 10’x10′ tent. So you join the art fair forums where tent brands and other art fair topics are discussed, and you discover that, surprise surprise, there are tent snobs out there that wouldn’t be caught dead using the brand of tent you were planning to buy. Whatever. You buy it anyway, because it’s easy for one person to set up, it’s sturdy, and it’s a great value. Thank you, Sams Club!
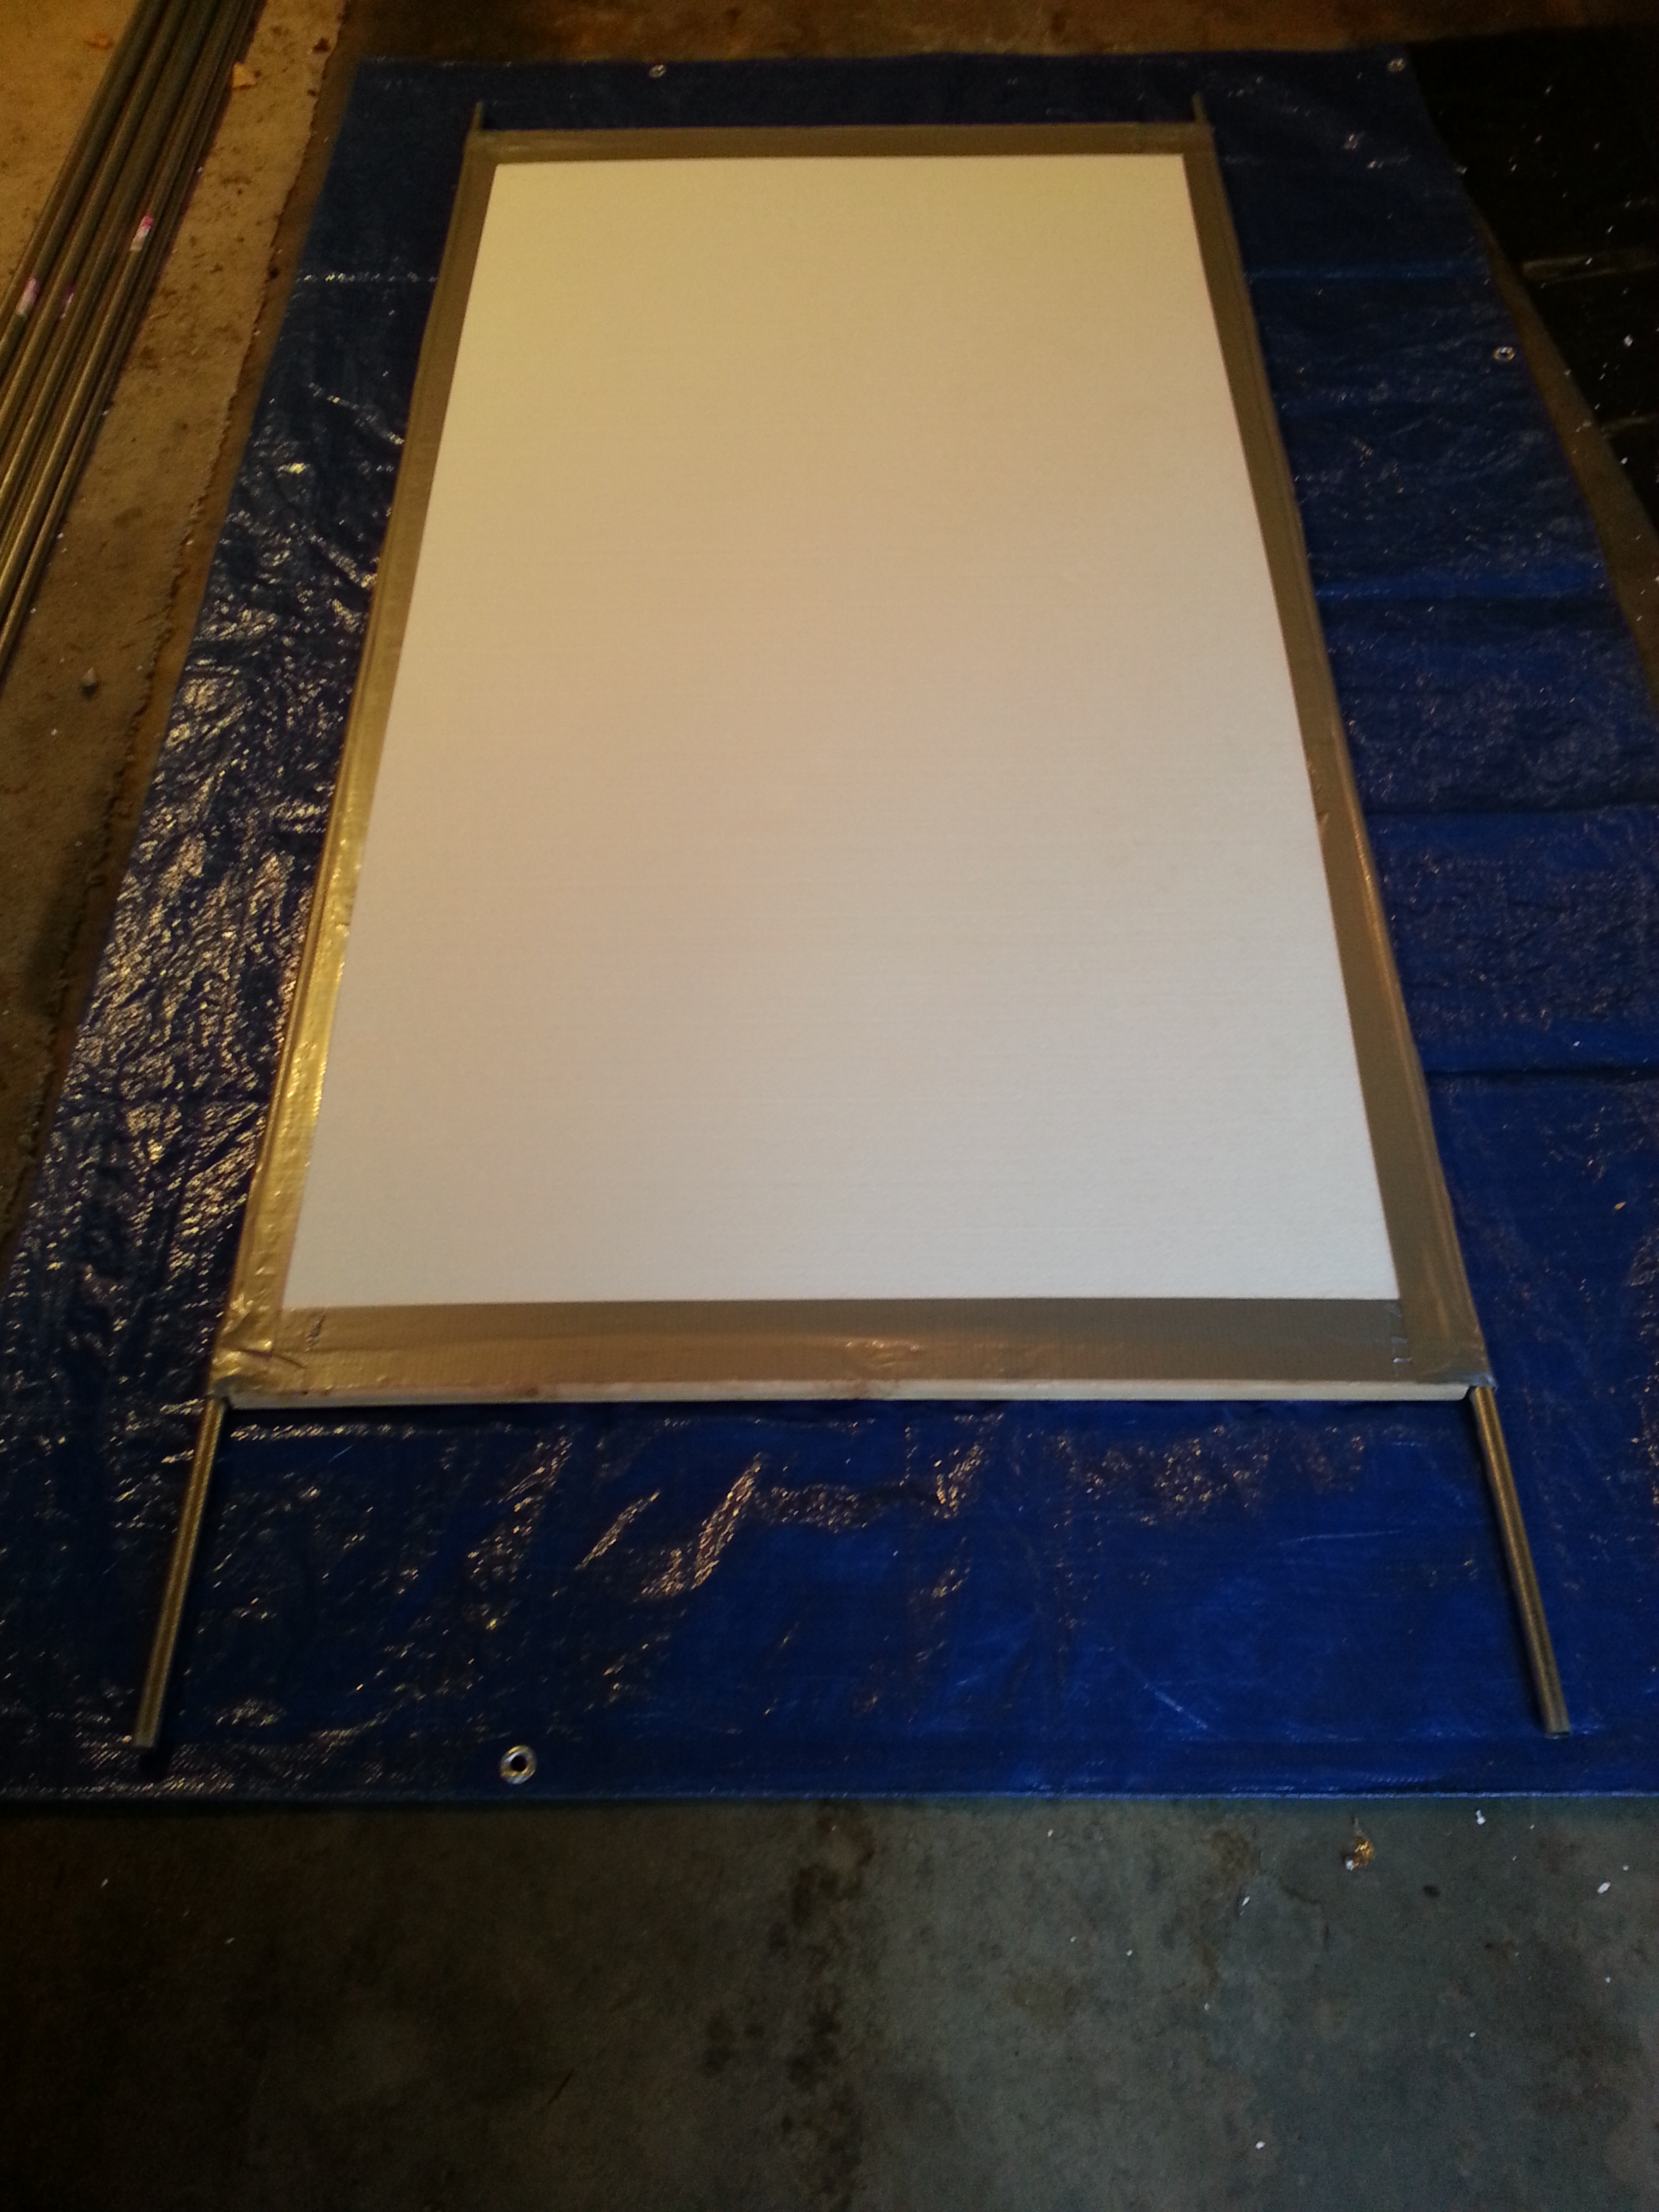
Display Panel Construction
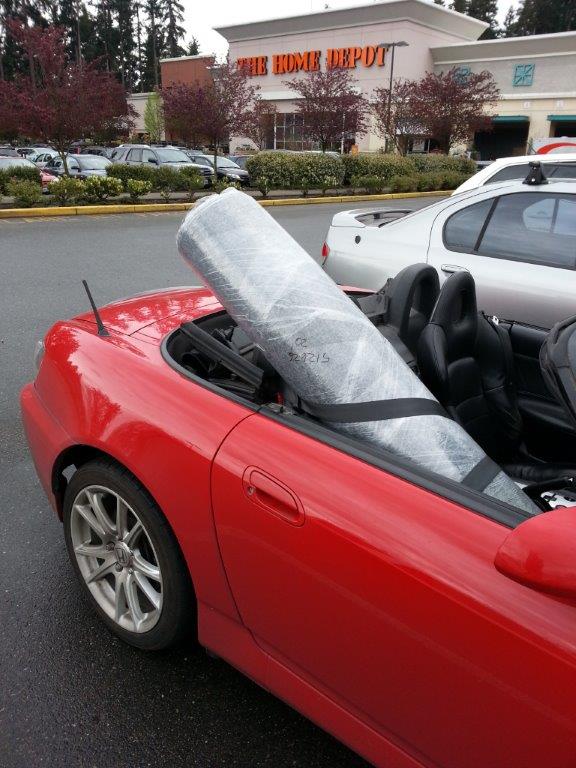
Getting the Carpet Home
Now you have to hang your photography somehow. One popular choice is a series of free-standing panels covered in carpet called Pro Panels, made by a company in Dallas. They come in six or seven foot tall sections about 38 inches wide, and you hook them together with connectors to make whatever shape walls you like inside your tent. The problem is they cost a fortune, and shipping these monsters from Dallas just makes it worse. So I built mine using plans I bought on ebay from a nice fellow named Ernie Kleven. I saved about $1000 and they look exactly like the expensive version, except that the carpet on mine doesn’t sag like on the real ones, and no one can tell the difference. I even bought the professional looking connecting hardware from the Pro Panels manufacturer, since I tweaked the plans a bit and built mine to their specs. And yes, Duck Tape® was involved. A lot of it. And quarts of glue. And, since I didn’t have the Forester yet, getting the parts home from the hardware store was interesting.
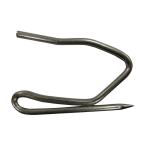
Drapery Pin
Once the panels are built and set up, hanging the art is easy. The panels are foam core covered with carpet, so you just buy a bag of drapery pins, stick them into the carpet, and you have instant photo hooks. Of course, getting the photos level is another matter.
Speaking of art, in parallel with all of this construction in the garage (I built nine of these panels – quite a project), I also have to get the images ready to sell, which means getting them printed and researching suppliers of framing materials. Then I have to mat and frame the prints and get them signed, labeled, packaged, and professional looking. That’s a topic for another article right there.
So, it’s time for a booth shot. I set up the tent in the driveway, get a folding table and a table cloth and some baskets to use as print bins, drag out all the prints I’ve matted and framed, and invite a couple of designer friends, Nancy and Suz, to help with the layout. Note to self: never get two designers in the same room working on the same problem. Hours later, the booth looks beautiful, but it’s quite dark. Yep, while we were debating the optimal placement of the prints, the sun has completely set, and the only lighting in my booth is the faint glow from the street lights in the parking lot. (To be fair, I was struggling up until the last second to get all the parts ready, so we didn’t exactly start early. And the deadline to apply for my first major show was that evening, so we had to finish!)
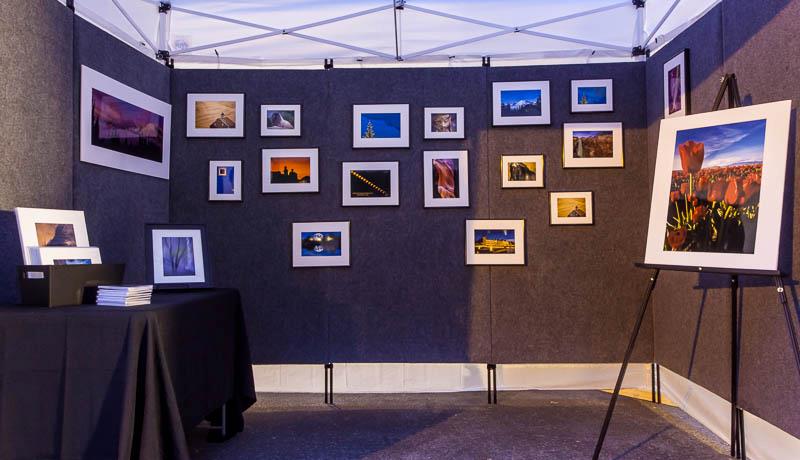
Booth Shot
Well, no problem. I got out my trusty DSLR, cranked up the ISO, and took a 30 second exposure of my booth. That’s right, I had to pull out my long-exposure tricks to get my booth shot. But you know what, I think it looks fine, and to this day, that’s the booth shot I use when applying. It’s clean and neat, there are no customers in the way, and it works. To date, I have been accepted to every art fair I’ve applied to, at least by the second year.
Once my application is accepted, I have a certain amount of time to accept or decline the invitation, and then it’s time to pay up. Art fair booth fees run anywhere from $25 for a small one afternoon neighborhood event up to several thousand dollars for a larger space in a multi-day premium show. These fees add up fast!

Custom Tent Weights
So what’s next? Well, the bigger the show, the more likely they are to have strict requirements about weighting your tent in case of a windstorm. I’ve been working on building my tent weights for a while, squeaking by with partially finished weights and random heavy objects, but now it’s time to get the real weights finished.
I’ve seen all kinds of weights used by other vendors at art fairs, from bags of sand to jugs of water to PVC sewer pipe filled with concrete. And yes, they’re all as attractive as they sound. So I decided to step it up and make mine out of PVC fence posts, filled with concrete and fitted with hardware so I can weigh down both the tent legs and tent canopy at the same time. And, because they’re not round like sewer pipe, they won’t roll around in the vehicle on the way to the fair. Trust me, you do not want four 50-pound (22 kg.) weights rolling around freely in the back!
So those are the major points. There must be thousands of details to be handled, such as making sure your tent meets fire standards, you have the right insurance, you have a place to store boxes and bins during the show, etc., etc., etc. But I’ve done it a few times, and I think I have it figured out. Now I need to work on increasing sales – because after all is said and done, that is the whole point, right?
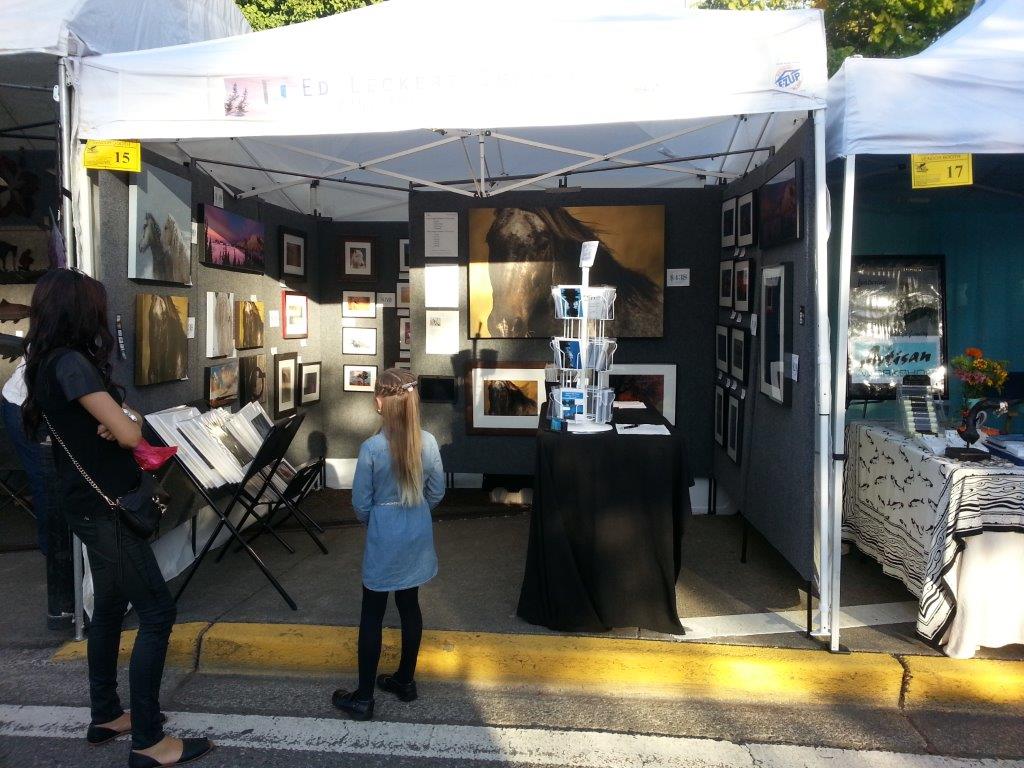
A mother and daughter view my booth at Salmon Days, Issaquah.


![]()